How to Create Your First Digital Wedding Invitation
A step-by-step guide to setting up your wedding, choosing a template, adding guests, and sharing your first Invyt invitation.

Invyt guides you from the first welcome screen all the way to sending a personalised invitation link to each guest. This walkthrough follows the exact setup flow shown inside the product so you can create your first wedding invitation with confidence.
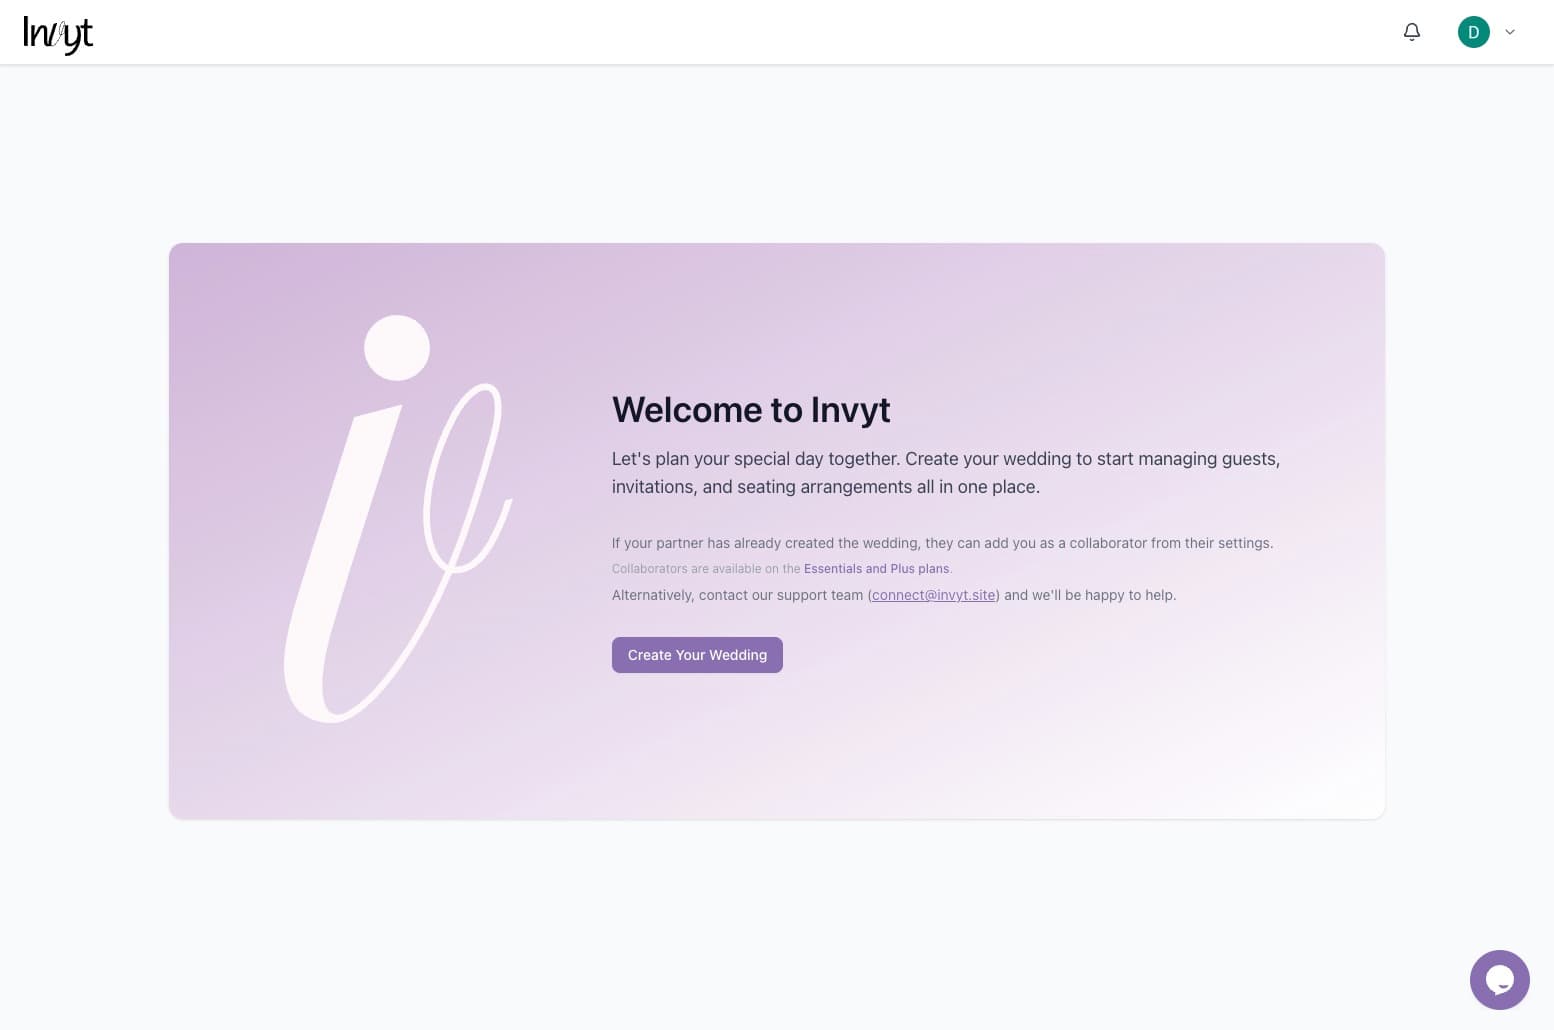
Step 1: Start from the welcome screen
After signing in, Invyt opens with a welcome screen that explains what happens next. Click Create Your Wedding to begin. If your partner has already created the wedding, they can add you as a collaborator instead.
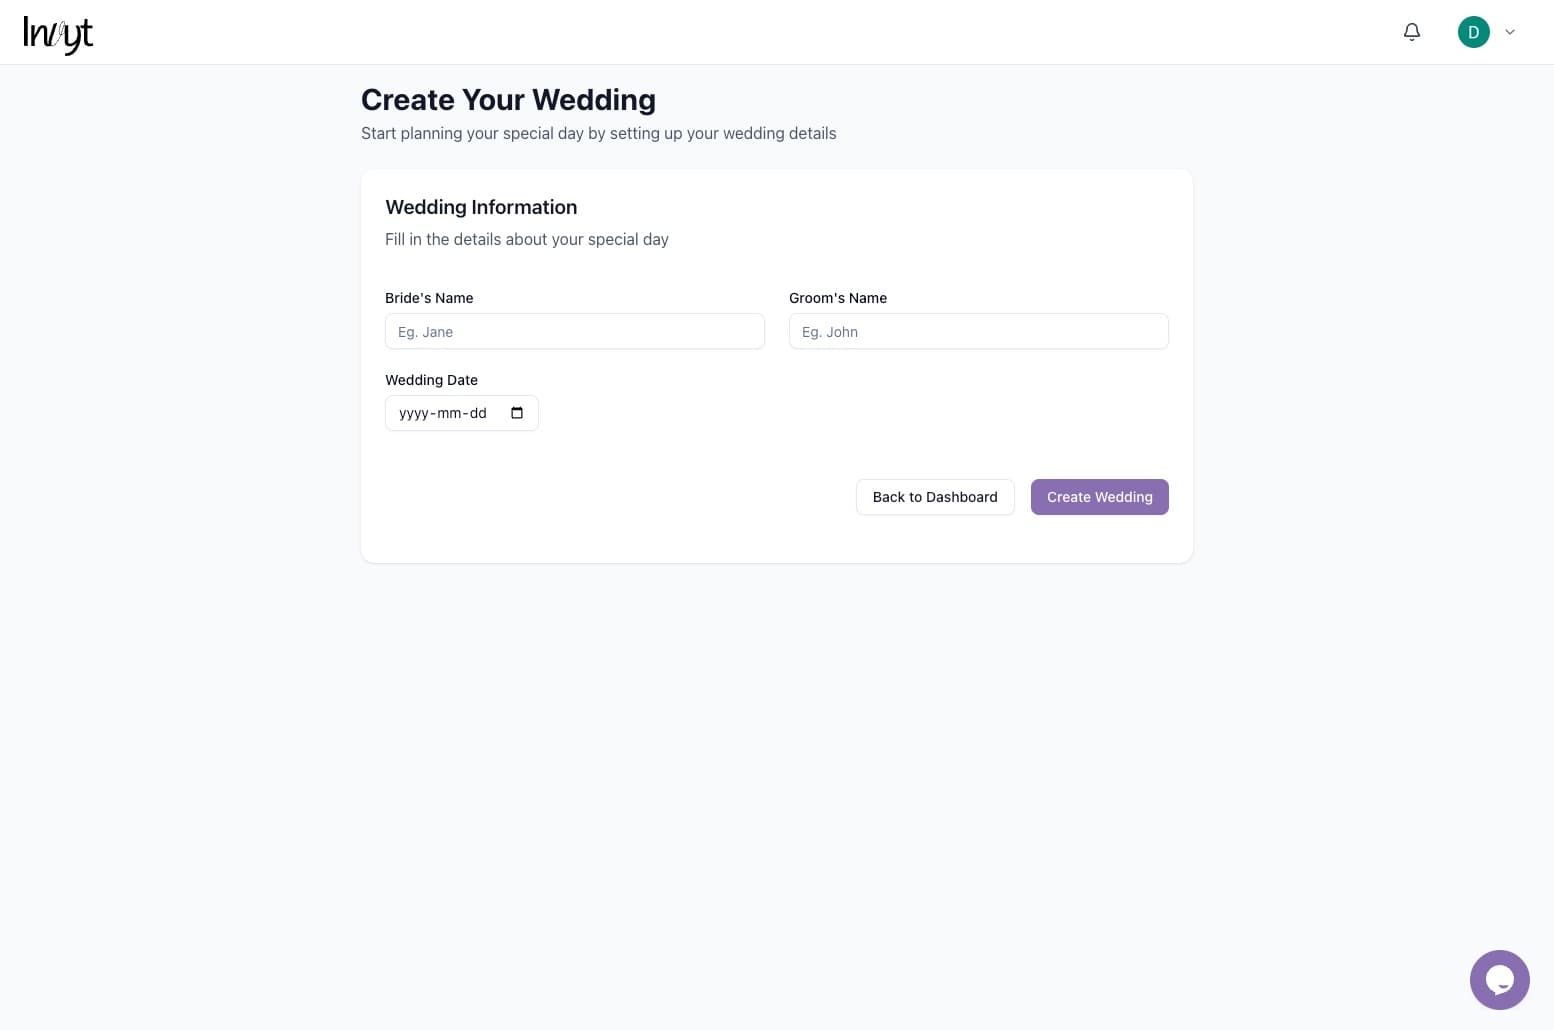
Step 2: Enter the core wedding details
The first form asks for the bride's name, groom's name, and wedding date. These details create the wedding and become the foundation for your invitation content across the dashboard.
Step 3: Use the dashboard checklist
Once the wedding is created, Invyt takes you to the dashboard. This screen shows your current plan and a clear next-steps list, including creating a save the date, building the invitation, adding guests, and setting up seating.

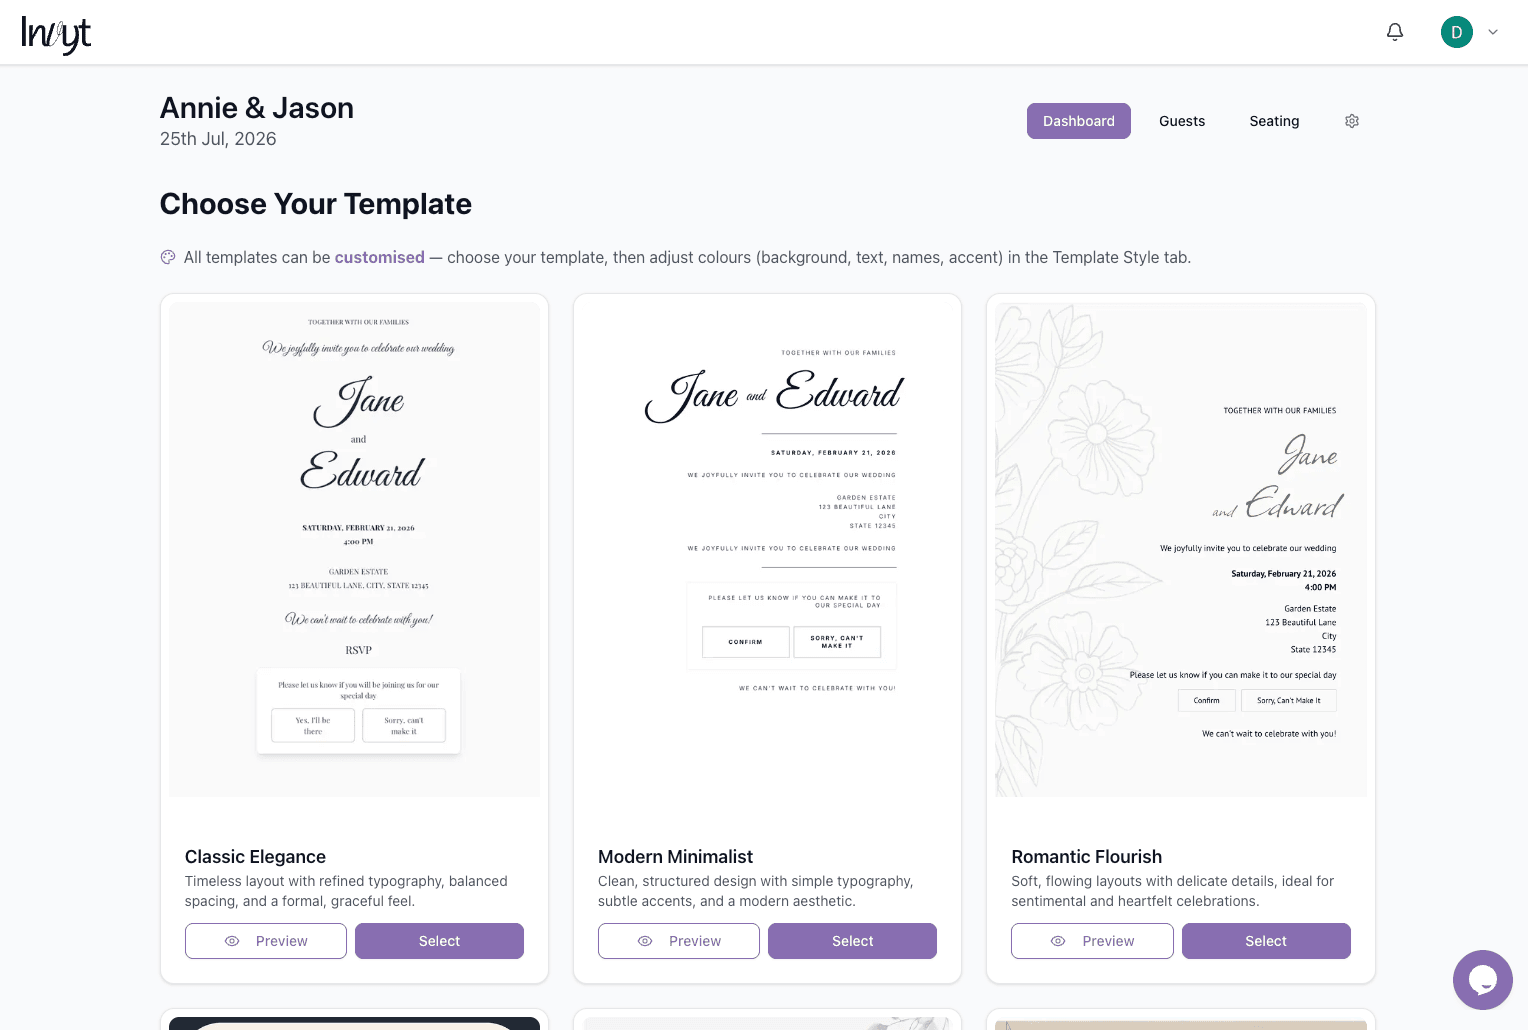
Step 4: Choose an invitation template
Open the invitation flow from the dashboard and browse the available designs. Each template can be customised later, so the main goal here is choosing the layout that best matches your wedding style.
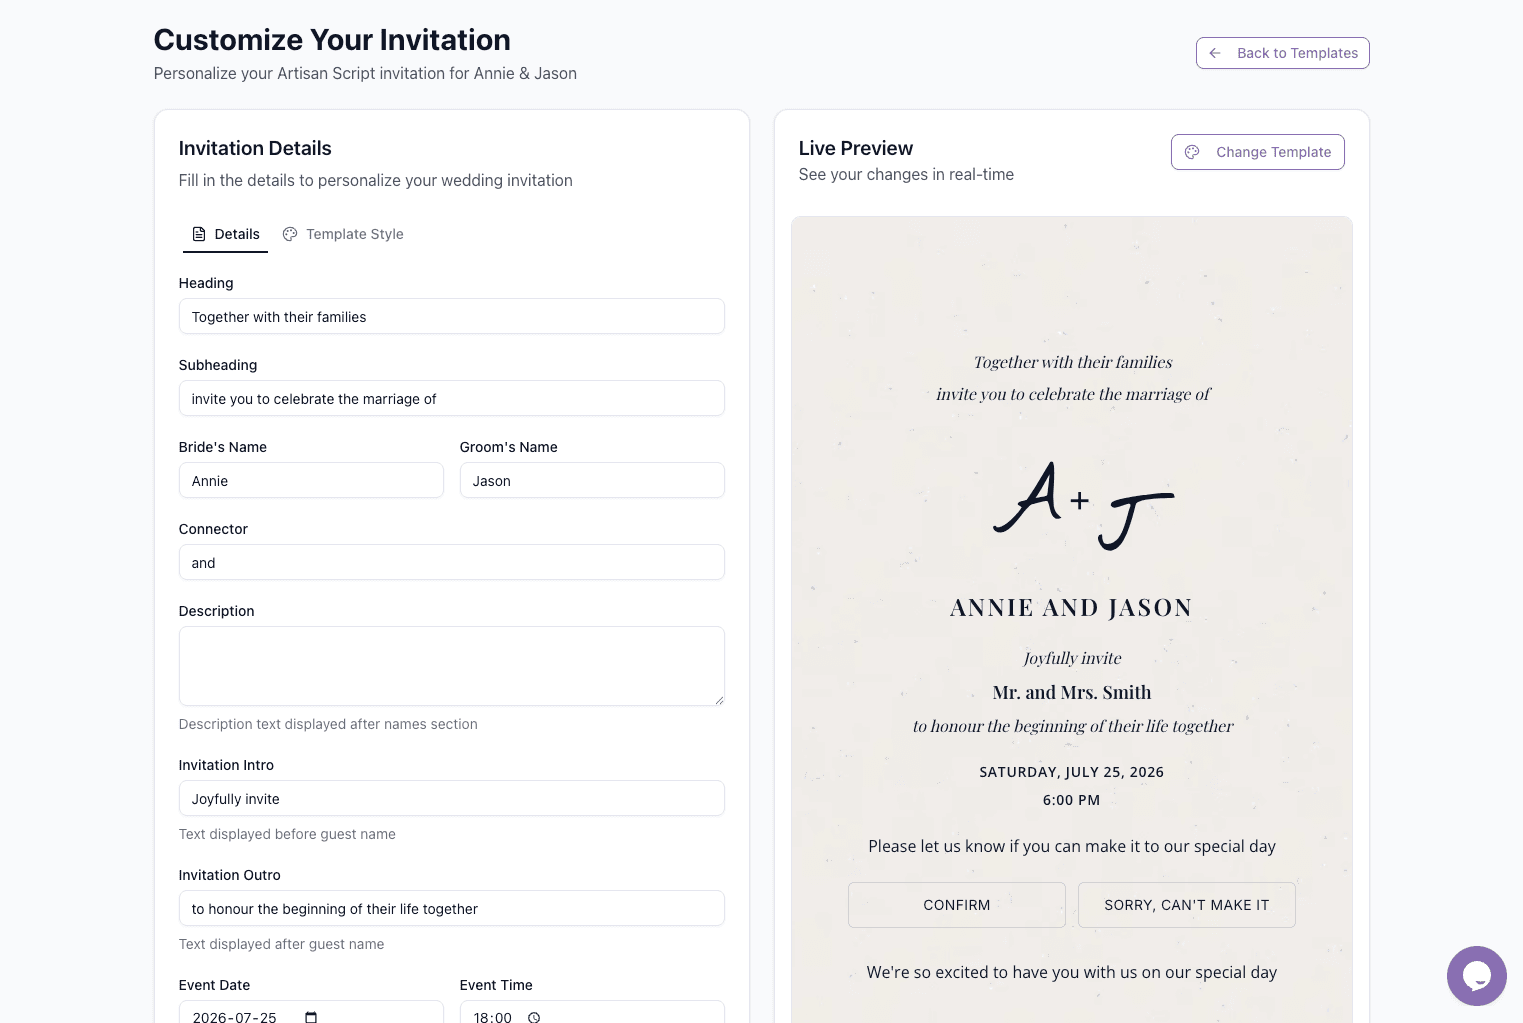
Step 5: Customise the invitation details
After selecting a template, you can edit the invitation content while watching a live preview update in real time. Use the Details tab to refine headings, names, descriptive copy, invitation text, and event timing before moving on.
Step 6: Add guests and review guest counts
Go to the Guests area to build your invitee list. You can paste names one per line, then review each invitee and set how many guests belong to that invitation before adding them to the wedding.

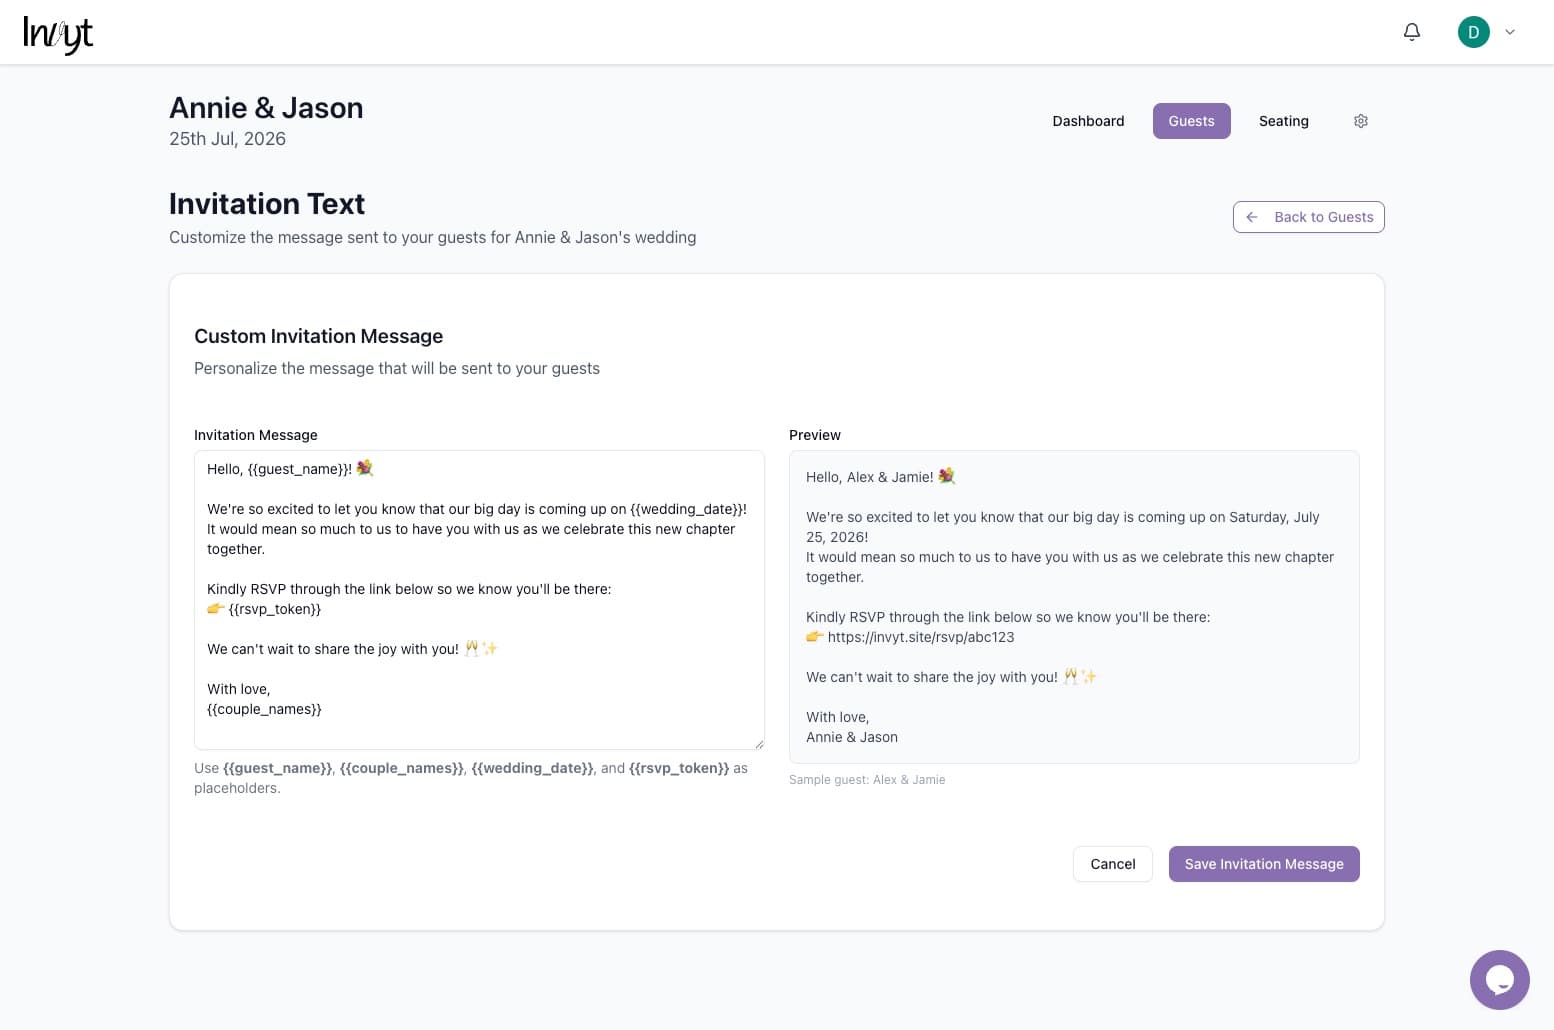
Step 7: Personalise the invitation message
Before you send anything, you can customise the message that accompanies each invitation. Invyt supports dynamic placeholders so the message feels personal without requiring you to rewrite it for every guest.
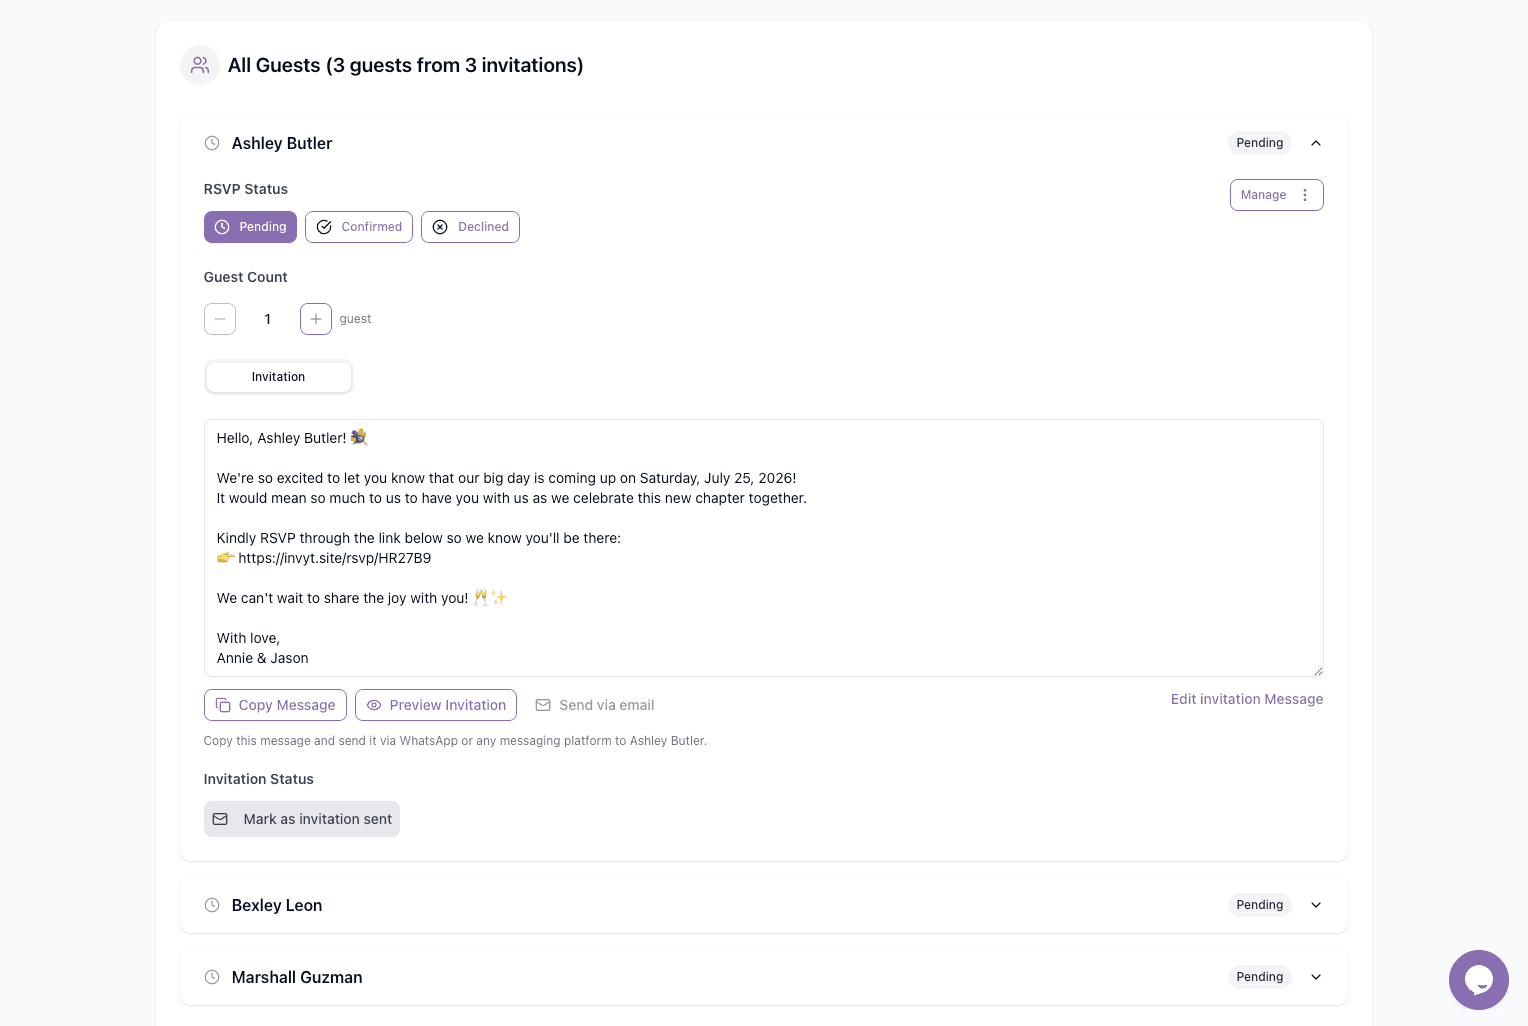
Step 8: Copy and send each invitation
Each guest record includes its own invitation message and status. From here you can copy the message, preview the invitation, send by email, or share it yourself through WhatsApp or any messaging platform, then mark it as sent.
Tip: You can keep refining your invitation details and message as you go. Because Invyt keeps everything connected to the same wedding workspace, your setup stays organised from first draft to final RSVP tracking.
What happens after you send
Once invitations are shared, guests can open their personalised link, view the invitation, and respond. Back in Invyt, you can track invitation status and RSVP progress from your guest list and dashboard as responses start coming in.


