How to Add a Seating Chart
A step-by-step guide to creating tables, assigning guests, and sharing a public seating view with Invyt.

Invyt lets you build your seating chart in the same wedding workspace where you manage guests, invitations, and save the dates. This guide walks through the real seating flow shown in the product so you can create tables, fill seats, and share the final plan clearly.
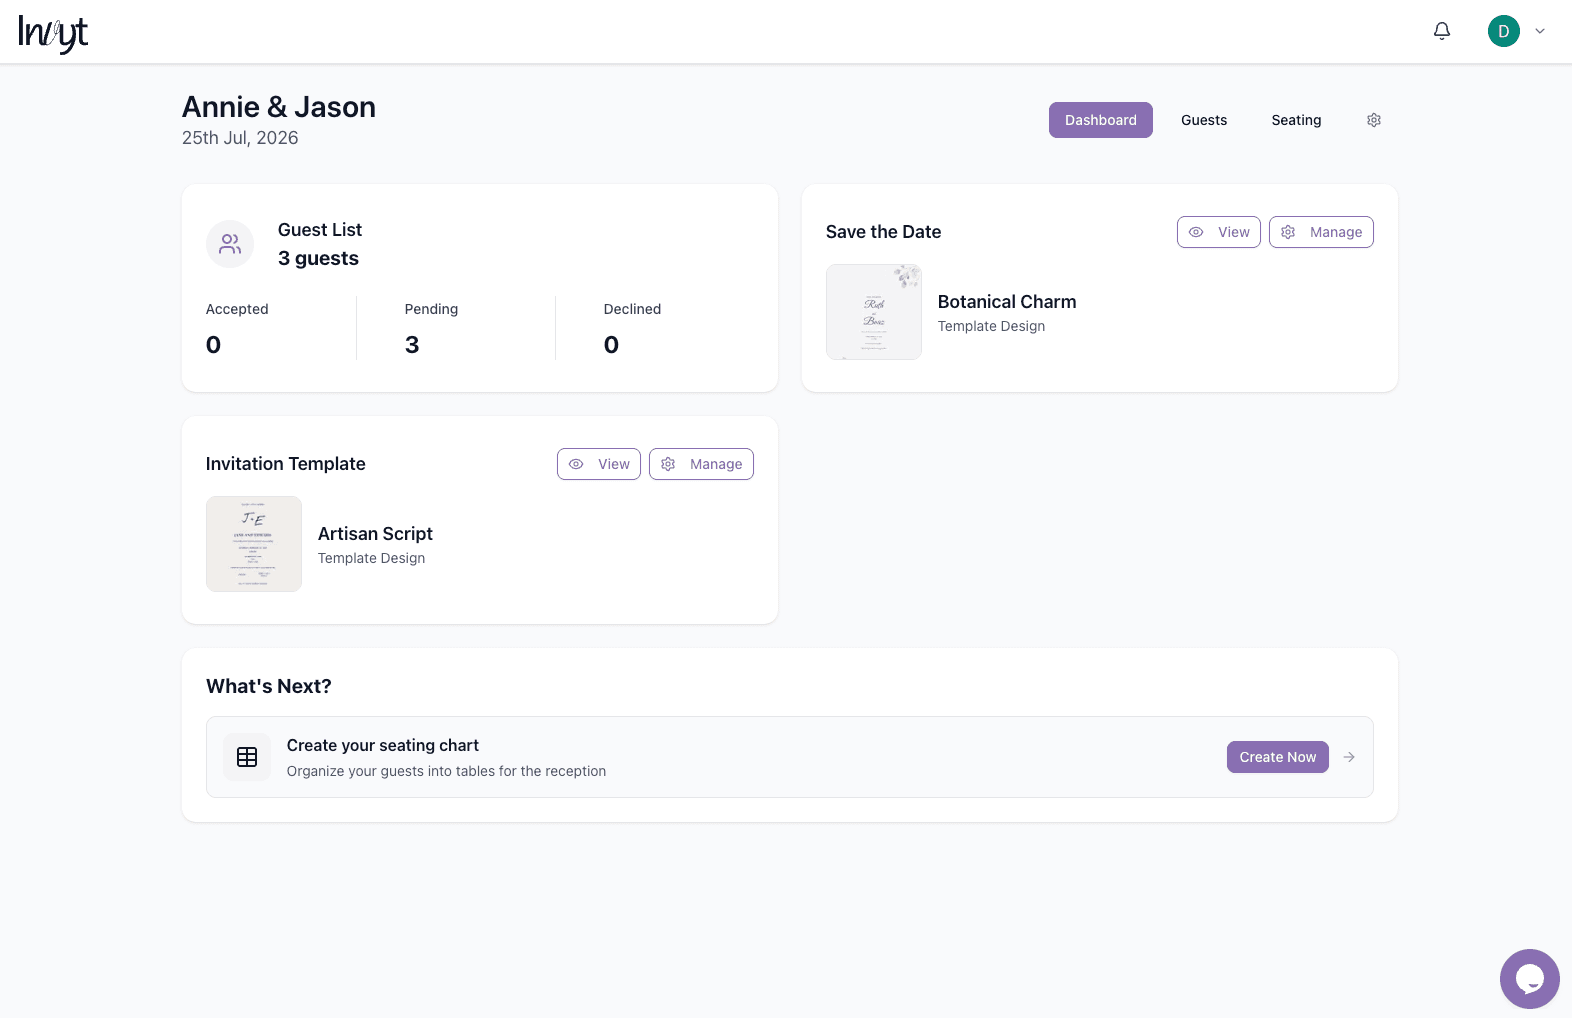
Step 1: Start from the dashboard
From the What's Next section on your dashboard, click Create your seating chart. This opens the seating area and helps you move from guest management into table planning.
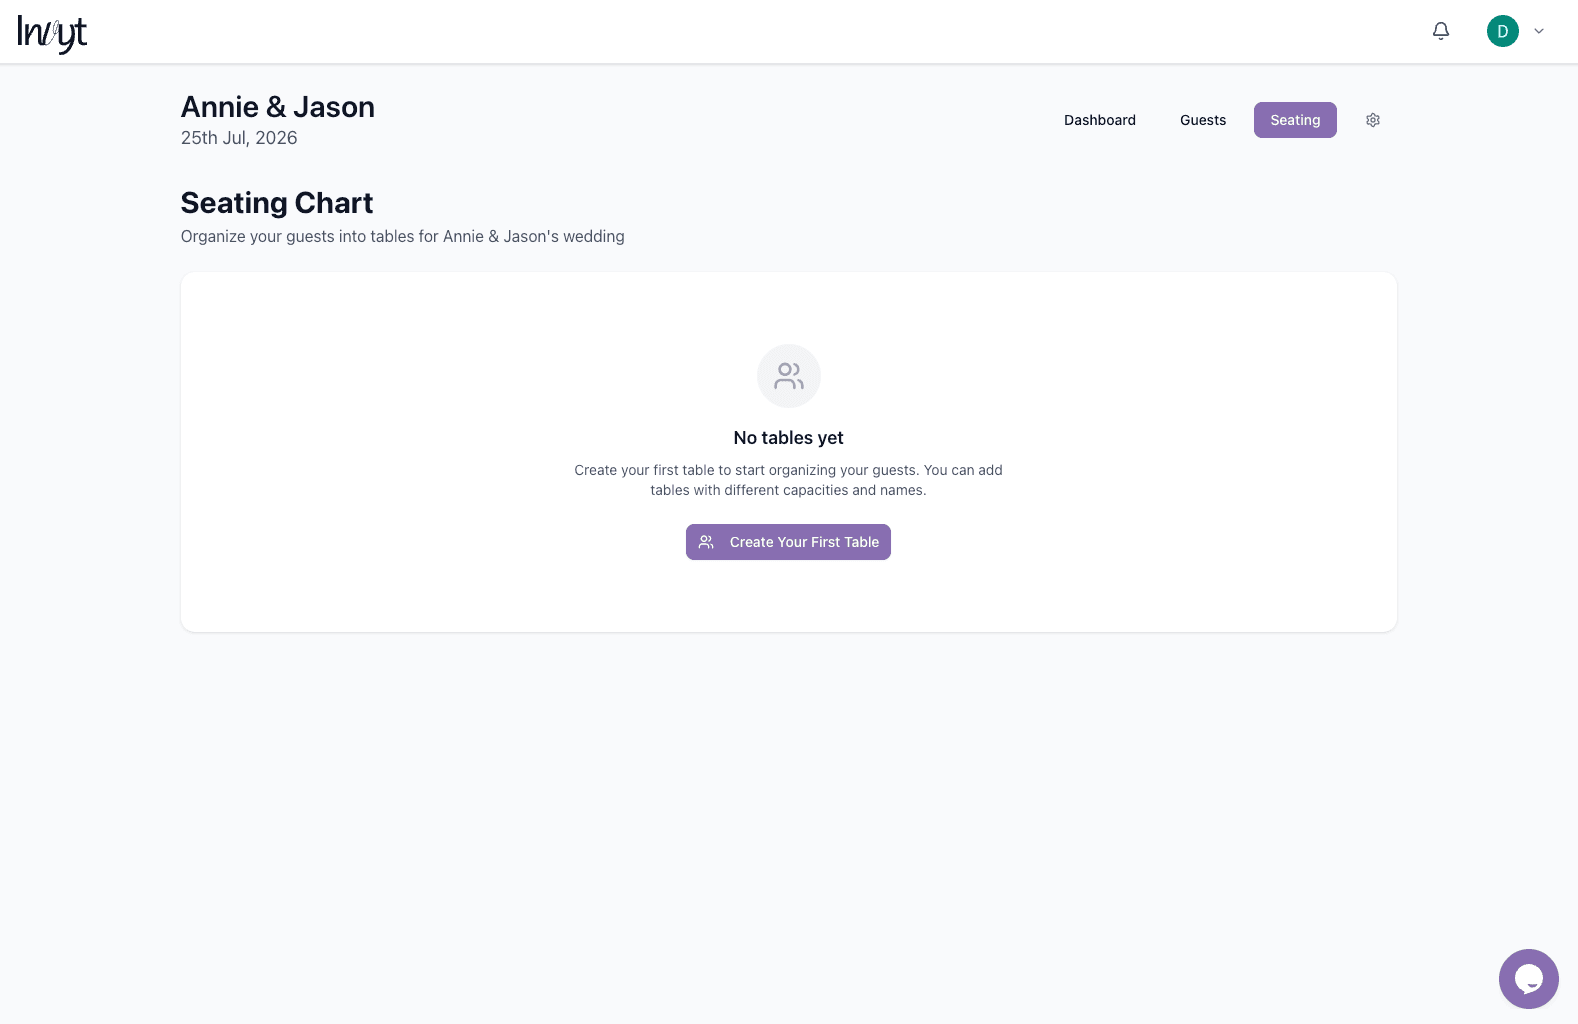
Step 2: Create your first table
If no tables exist yet, Invyt starts with a simple empty state. Click Create Your First Table to begin building the seating chart.
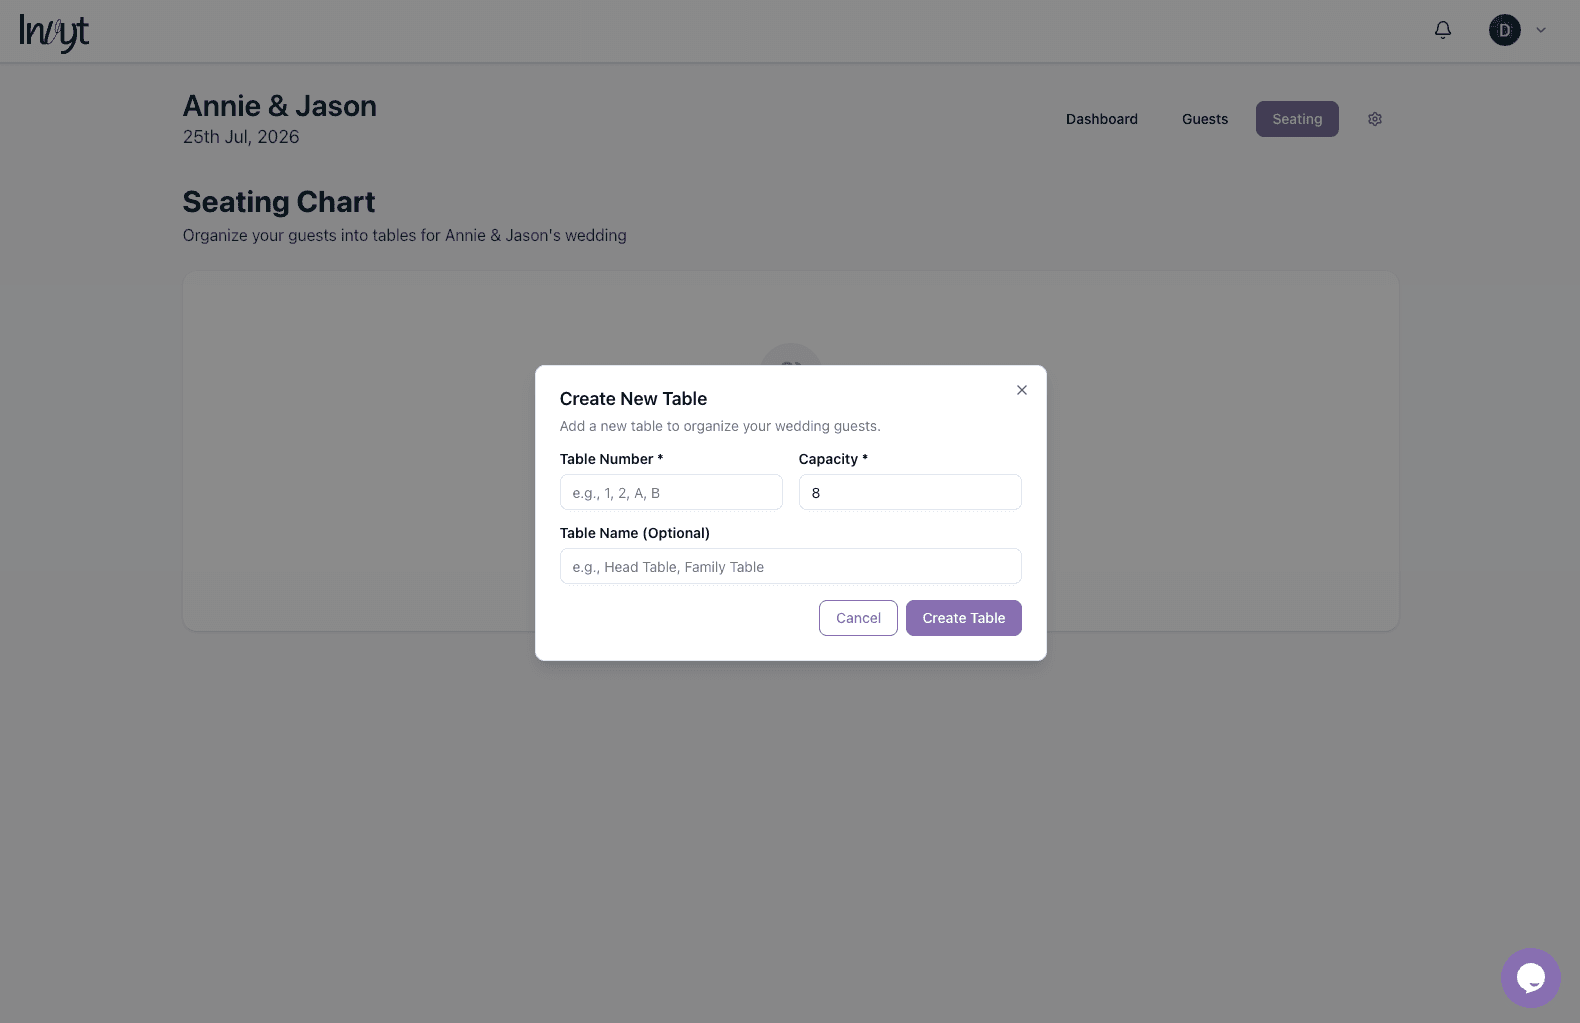
When the table modal appears, enter a table number, choose the seat capacity, and optionally add a friendly name such as Head Table or Family Table. Then create the table to add it to your chart.
Step 3: Assign guests to a table
After creating a table, use the manage guests view to assign people from your guest list. You can see seat usage, remove assigned guests, search available guests, and drag names to reorder seating within the table.
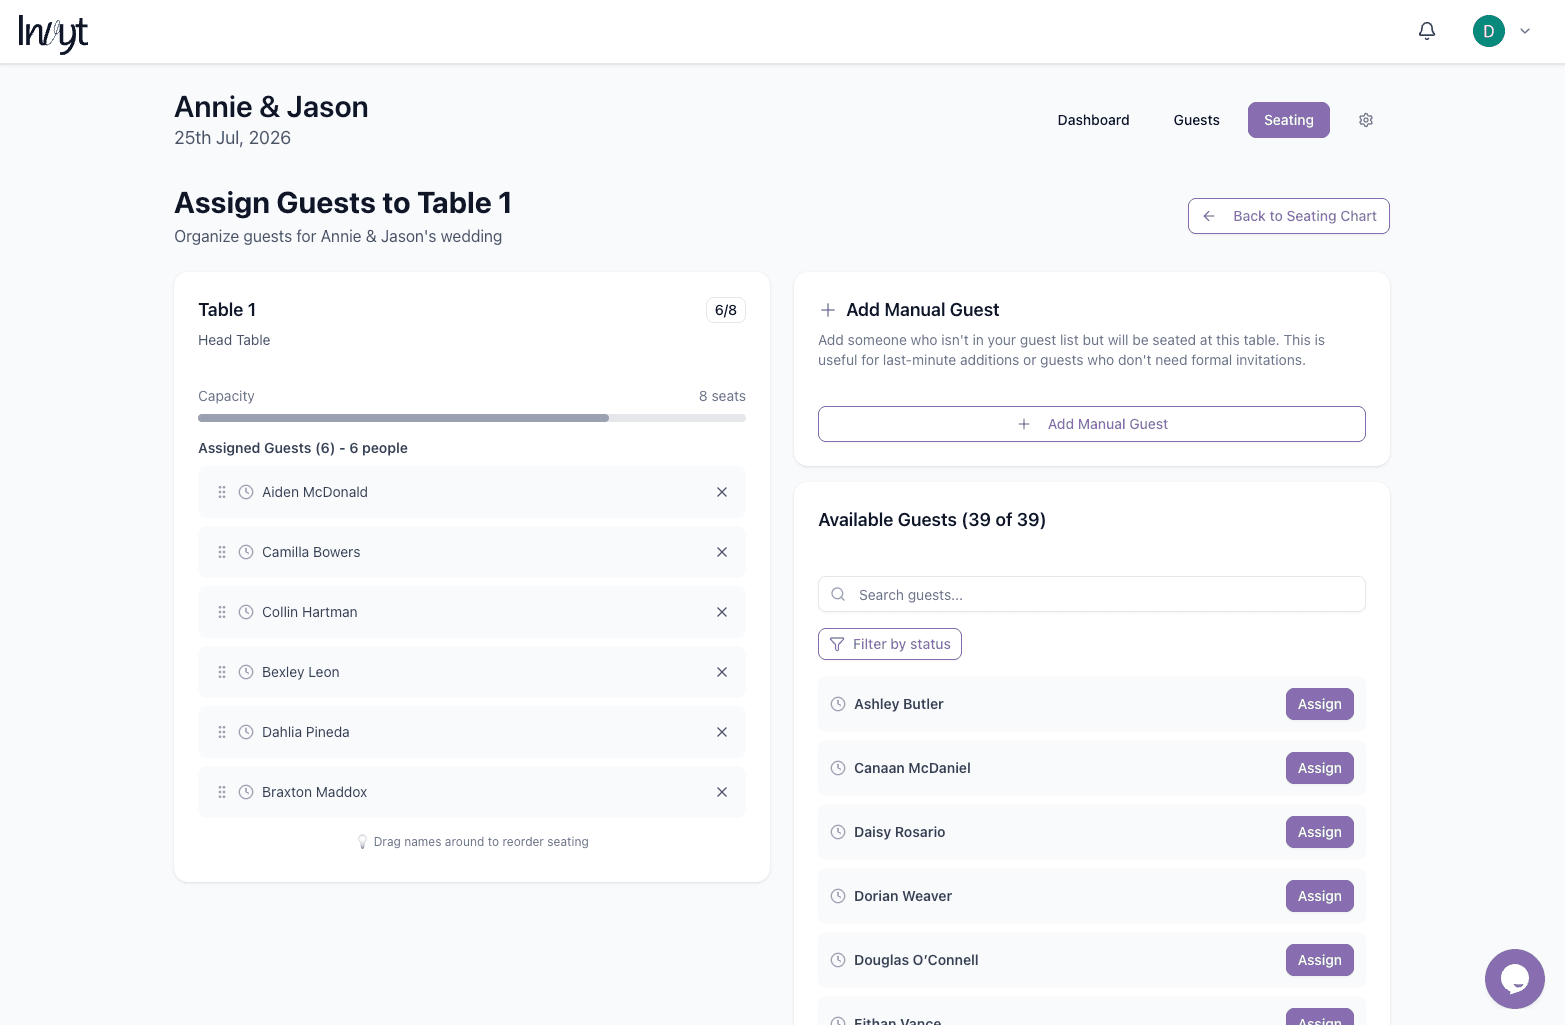
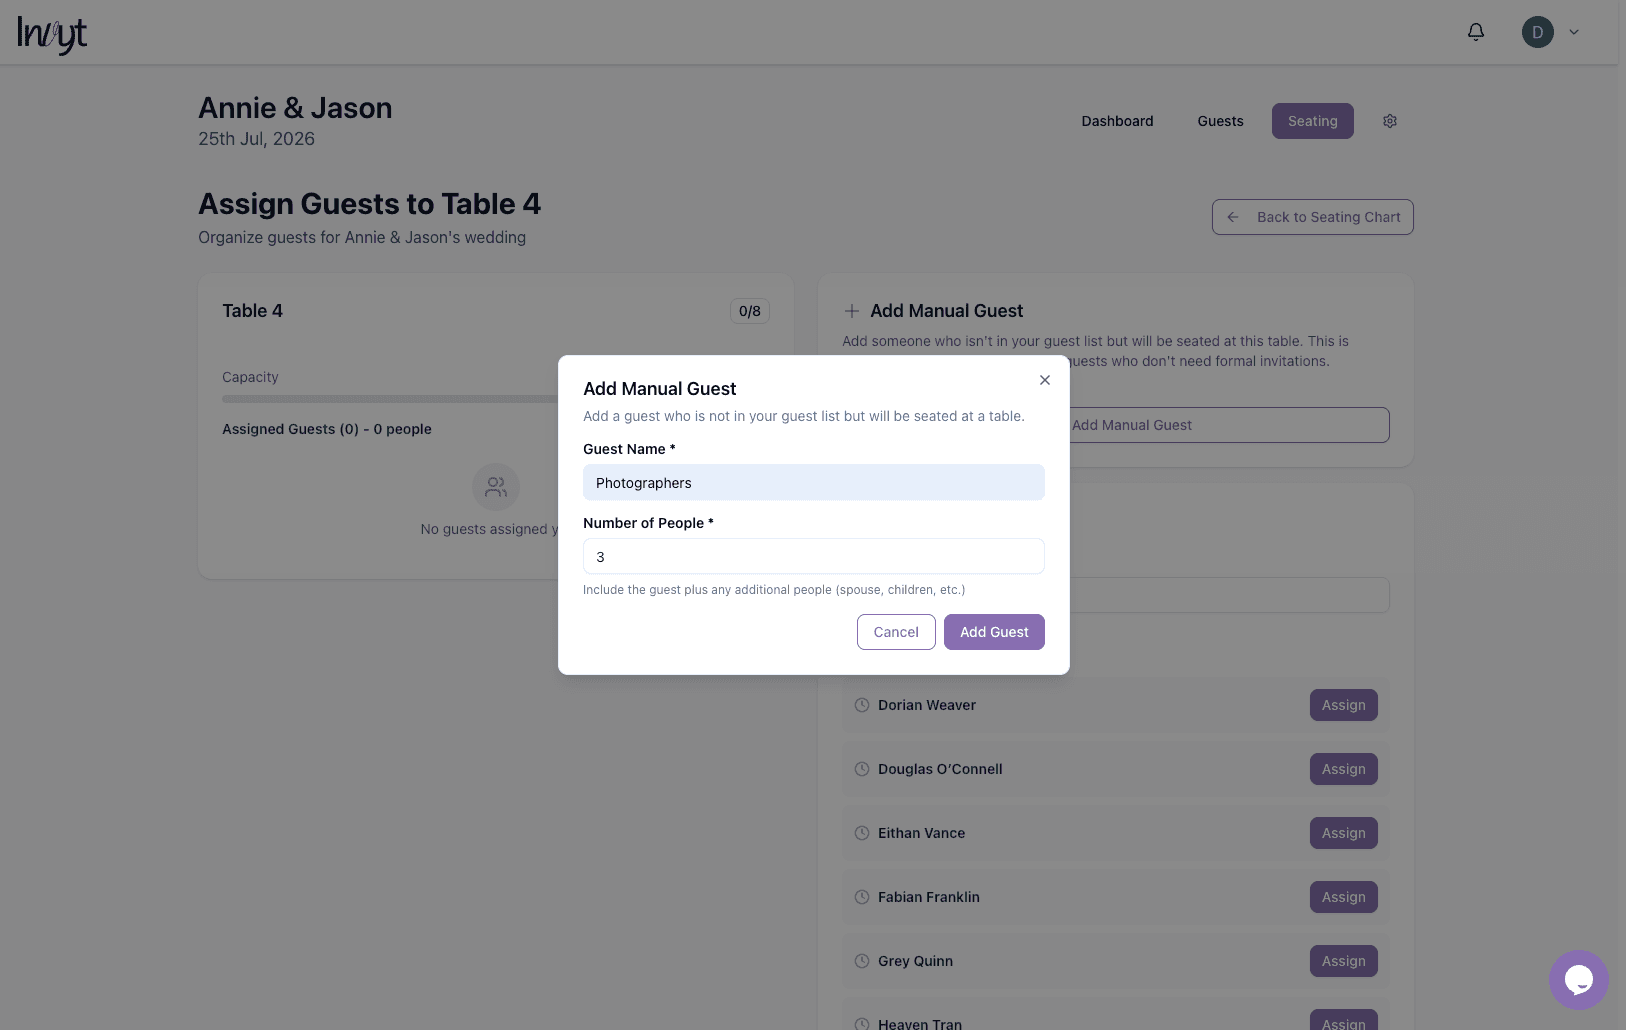
Step 4: Add people who are not in the guest list
If you need to seat vendors, photographers, or other attendees who are not part of the formal invitation list, use Add Manual Guest. You can name the guest group and specify how many people should be counted at that table.
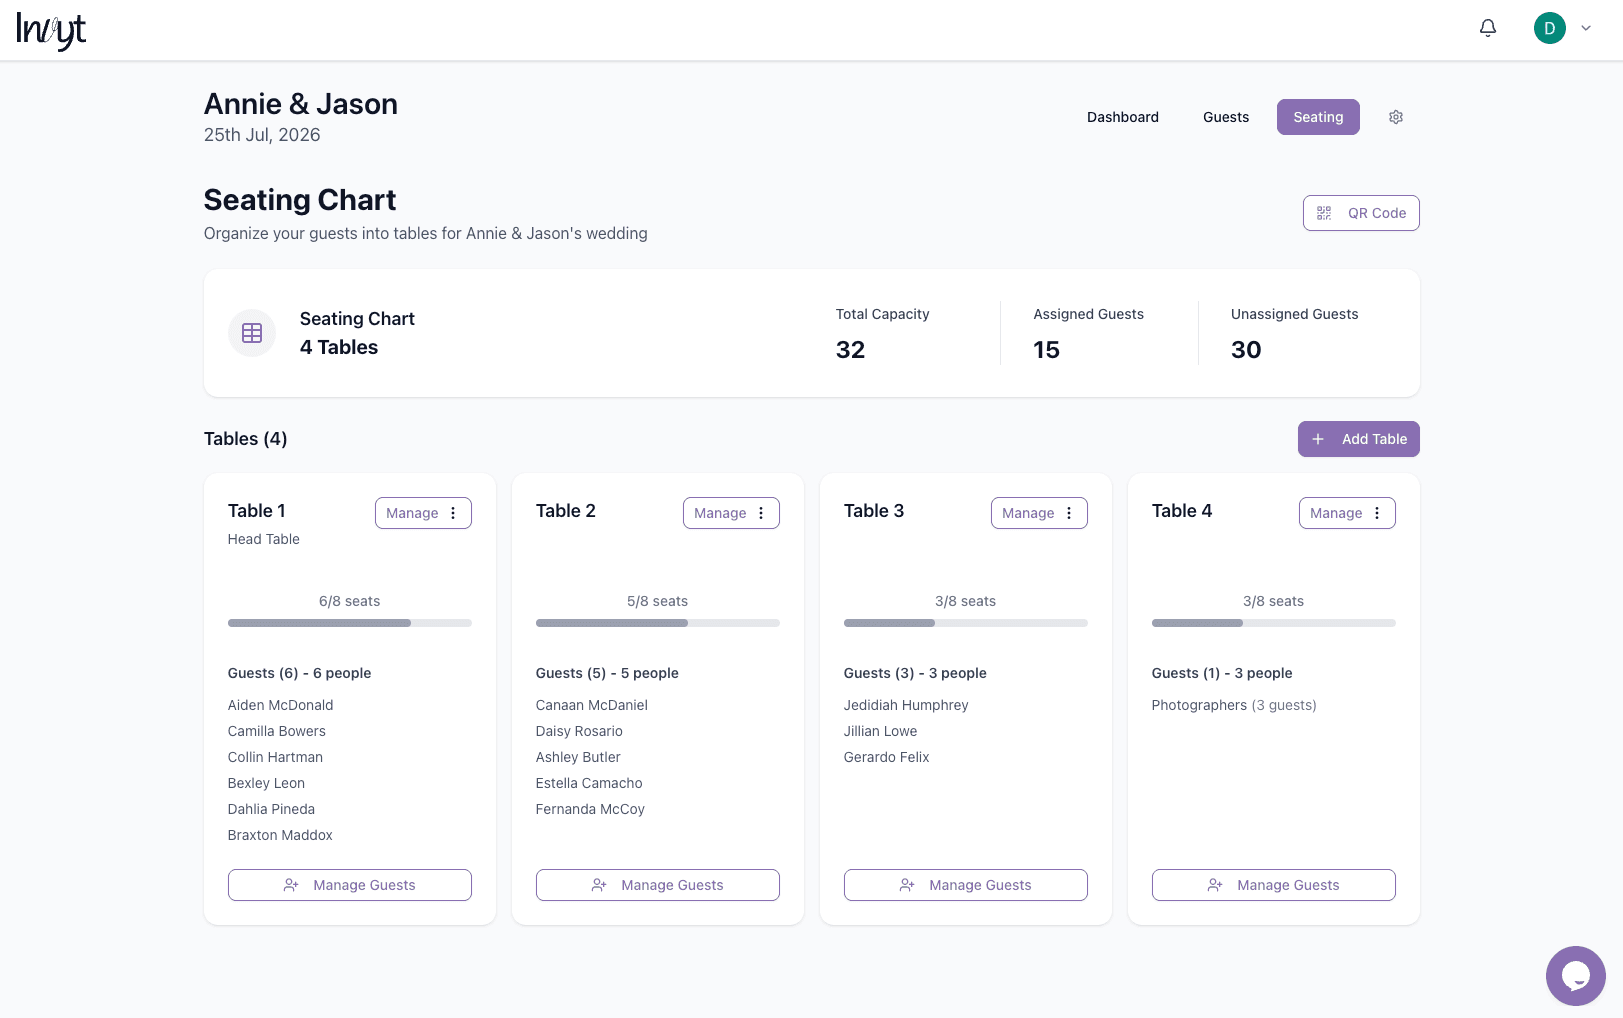
Step 5: Review and manage the full seating chart
As tables are added, the main seating chart page gives you an overview of total capacity, assigned guests, and unassigned guests. Each table card also shows its current occupancy and includes controls to manage or update the guest list.
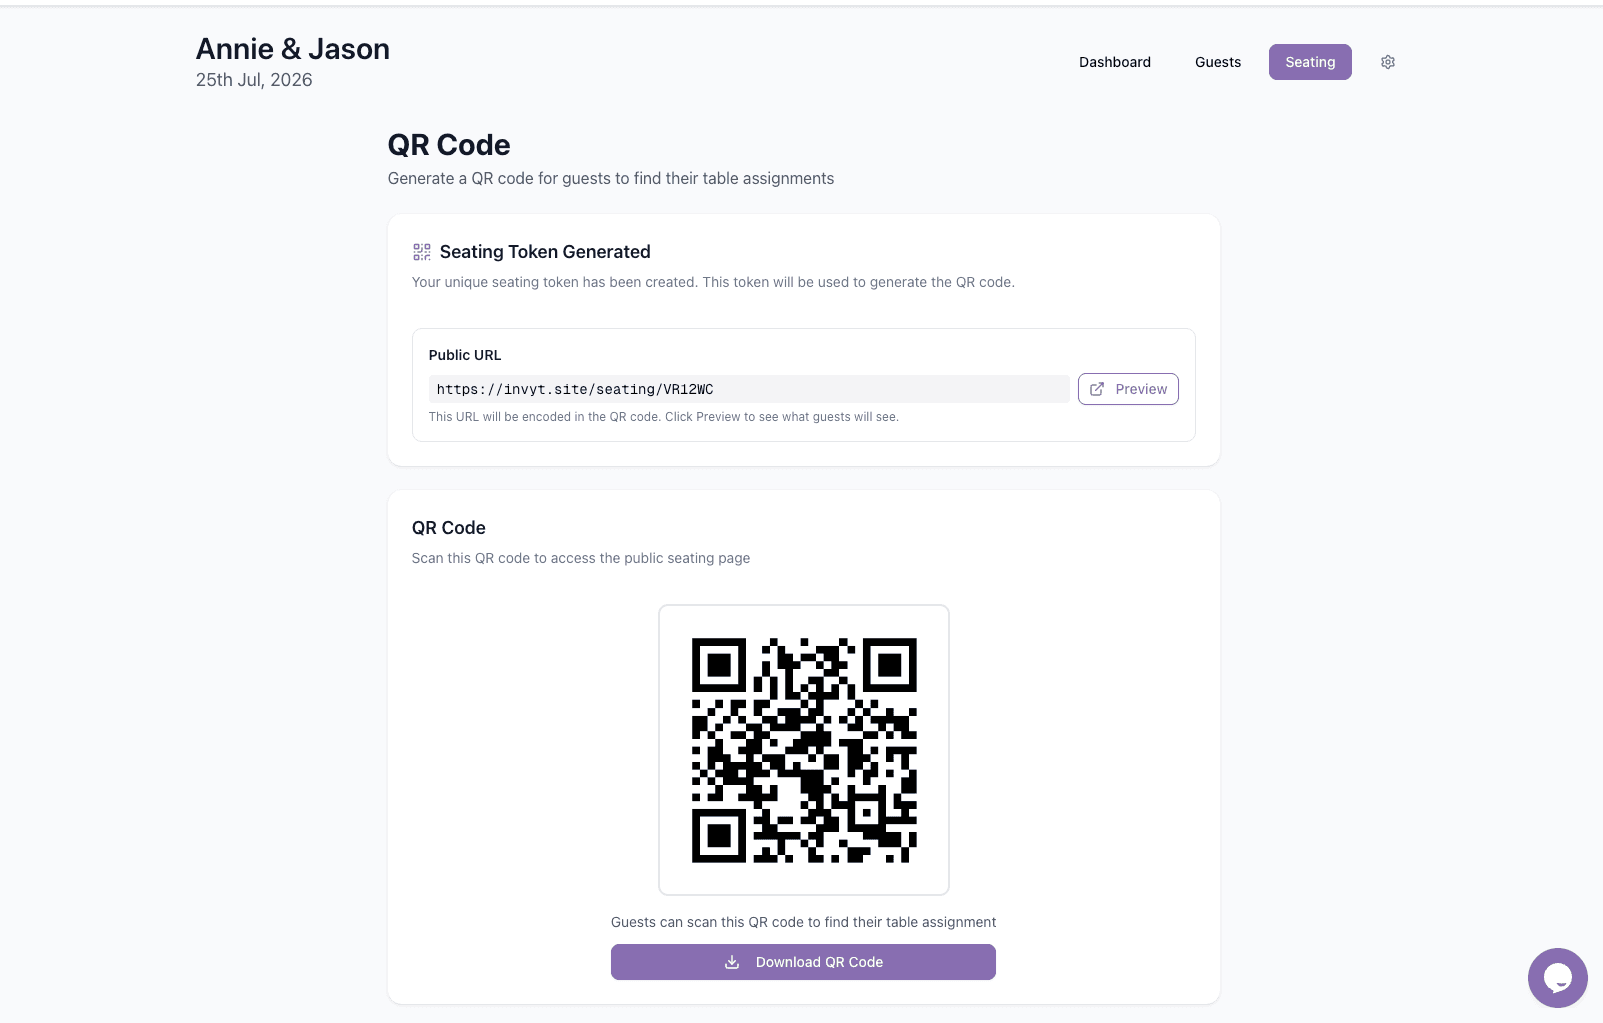
Step 6: Generate and download the seating QR code
Once your chart is ready, open the QR Code view to generate a public seating link. Invyt creates a URL and QR code that guests can scan to find their table assignment on the day.
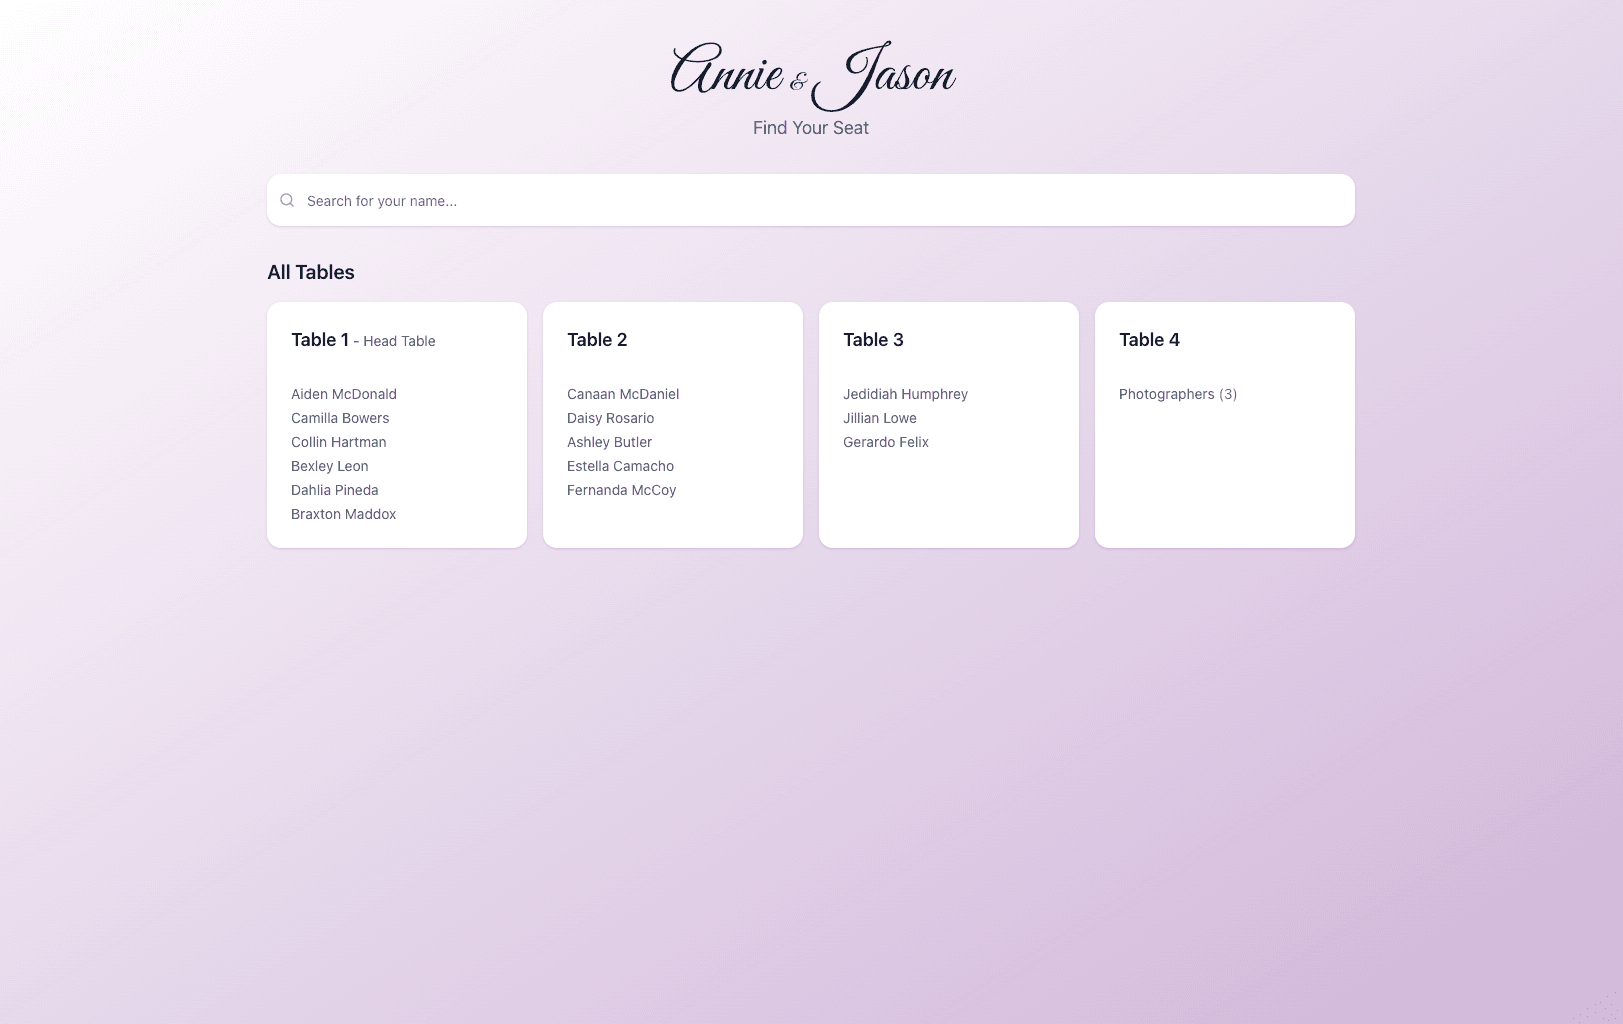
Step 7: Preview the public seating page
Use the preview option to see the public-facing seating page your guests will use. It displays all tables and includes a name search so guests can quickly find where they are seated.
Tip: Build your seating chart after your guest list is reasonably stable, then use manual guests for last-minute additions such as vendors or grouped attendees. That keeps your tables accurate without disrupting your invitation data.
What happens next
After your seating chart is published, guests can search for their name or scan the QR code to find their table. Back in Invyt, you can keep adjusting assignments, add more tables, and refine the layout as your final headcount changes.


